


Here’s how most homeowners picture the remodeling process: demo, rebuild, install, paint. Painting comes at the very end — a quick coat to freshen things up before you move the furniture back in. It’s an afterthought. A finishing touch. The punctuation mark at the end of a long sentence.
That approach costs you money, time, and quality. When painting is treated as an afterthought, you end up with mismatched finishes, walls that needed more repair than you budgeted for, and a rushed paint job that undermines all the work you just invested in. Smart home remodeling integrates painting into every phase of the project — not just the tail end.
Why Painting Gets Treated as a Final Step (And Why That’s Wrong)
The “paint last” mindset comes from a reasonable place. You don’t want to paint before the drywall is finished, before the trim is installed, or before the cabinets are hung. Paint is fragile — it scuffs, chips, and splatters. So why would you paint in the middle of a project?
Because painting isn’t one thing. It’s multiple things:
- Protective coating — Primer and paint seal drywall, wood, and other materials from moisture, staining, and daily wear.
- Surface repair and preparation — Most walls need patching, skimming, sanding, and priming before any topcoat goes on. This work should start early.
- Color and design foundation — Wall color establishes the palette that everything else — flooring, fixtures, hardware, and furnishings — builds on.
- Finish work — The final coats of paint are indeed the last step, but they’re only effective if all the preparation that came before was done right.
When you separatepainting from the rest of the remodel, you miss opportunities to integrate it properly. The result? A renovation that looks good on paper but doesn’t come together in real life.
Remodeling Project Timeline — Where Painting Fits
| Phase | What Happens | Where Painting Fits |
|---|---|---|
| Planning & Design | Define scope, select materials, choose layout | Color consultation and palette planning — establish wall and trim colors so all other finishes coordinate |
| Demo & Prep | Remove old materials, open walls for mechanical updates | Assess wall conditions behind old finishes; identify drywall repair needs; plan patching and repairs |
| Rough-In | Electrical, plumbing, HVAC updates inside walls | Mark all access points that will need drywall patching later; coordinate with trades on wall penetrations |
| Drywall & Framing | New drywall hung, taped, and finished; framing adjustments | Drywall finishing and texture matching — must be done before any paint touches the wall |
| Mid-Project Paint | Primer and first coats on walls and ceilings | Apply primer to seal new drywall; first coat on walls provides a backdrop for cabinet and trim installation |
| Cabinets & Millwork | Install cabinets, doors, baseboards, crown molding | If cabinets are being painted, preparation and priming happen concurrently |
| Finish Paint | Final wall coats, trim paint, cabinet finish coats | Final coats on walls, ceilings, trim, doors, and cabinets — this is the “painting” most people think of |
| Final Touch-Up | Install fixtures, outlets, switch plates; clean up | Touch-up painting over nail holes, scuff marks, and minor damage from installation |
Notice that painting shows up in nearly every phase — not just at the end. When remodeling is planned this way, the final result looks cohesive and intentional rather than patched together.
Painting Decisions That Should Happen Before the Remodel Starts
Color Planning
This sounds obvious, but you’d be surprised how many remodels get to the painting phase and the homeowner still hasn’t chosen colors. Color isn’t just a wall finish — it’s the design thread that ties your entire project together.
Your wall color should be chosen alongside:
- Flooring color and tone
- Cabinet finish and style
- Countertop material and color
- Hardware finishes (light fixtures, faucets, drawer pulls)
- Tile and backsplash selections
When all these selections are made in isolation, the result is often a space that feels disjointed — warm-toned cabinets with cool-toned walls, or a bold accent color that clashes with the stone countertop you just installed. Working with a painting professional during the design phase prevents these mismatches.
Drywall Assessment
Before you budget for paint, you need to know what’s underneath it. Every remodel involves some wall damage — whether it’s from demo, new electrical runs, plumbing access holes, or simply decades of nail holes and scuffs. If your painting contractor walks into a remodel on the last day and discovers walls that need significant drywall repair, that work either eats into your paint budget or gets rushed.
Planning drywall repair as part of the remodeling timeline means it gets done properly — with multiple coats of joint compound, proper drying time between coats, and texture matching that makes repairs invisible. Rush this step, and every patch shows through the final paint.
Common Remodeling Projects and Where Painting Plays a Role
Kitchen Remodels

Kitchens involve more paint decisions than almost any other room. Here’s how it breaks down:
- Walls and ceilings — Kitchen walls need durable, washable paint that stands up to cooking splatter, steam, and frequent cleaning. Not all paints are created equal here.
- Cabinets — Painted cabinets are one of the highest-impact, highest-risk painting jobs in a home. Cabinet paint must adhere to the existing finish, resist chipping and yellowing, and maintain a smooth factory-like appearance. Done poorly, painted cabinets look worse than what you started with.
- Trim and doors — Semi-gloss or high-gloss trim paint provides the durability kitchens demand.
- Ceiling — Often overlooked, but a fresh white ceiling makes the entire kitchen feel cleaner and brighter.
In a kitchen remodel, painting should be coordinated with cabinet installation. Walls behind cabinets get painted first, cabinets get painted or installed next, and final wall coats go on after cabinet installation — covering any gaps, caulk lines, or touch-up needs.
Bathroom Remodels
Bathrooms present the toughest conditions for paint in your home. Constant humidity, temperature swings, and direct water exposure mean you need paint specifically formulated for these conditions. A bathroom painted with standard wall paint will peel, bubble, and grow mildew faster than you’d expect.
The sequence matters here too. If tile surrounds are being installed, the wall paint needs to be coordinated with tile layout so there are clean transitions — not a sloppy caulk line where paint meets tile.
Whole-Home Remodels and Additions
Larger projects offer the biggest opportunity — and the biggest risk — when it comes to painting integration. With multiple rooms being updated, the paint palette needs to flow from space to space. A disjointed approach where each room is painted independently creates a home that feels like a collection of separate projects rather than one cohesive renovation.
For whole-home work, integrated remodeling and painting ensures consistent color flow, coordinated finishes, and a schedule that accounts for every wall, ceiling, trim, and door. See examples of this approach in our project portfolio.
The Hidden Costs of Treating Painting as an Afterthought
When painting isn’t part of the remodeling conversation until the end, several expensive problems can emerge:
- Unexpected drywall repair — Demo, fixture changes, and structural modifications leave walls in worse shape than anticipated. Repairing this properly takes time that wasn’t budgeted.
- Color mistakes — Choosing paint colors in a hurry, under bad lighting, or without considering all the other finishes in the room leads to expensive re-dos.
- Scheduling conflicts — When painting is an afterthought, it gets squeezed into the schedule. Rushed paint jobs show brush marks, uneven sheen, and sloppy cut-in lines.
- Product mismatches — Using the wrong sheen, skipping primer, or applying paint incompatible with the substrate creates adhesion problems that appear months later.
- Redundant work — Painting a wall, then having another trade cut into it for an electrical change, then patching and repainting — this cycle wastes time and money.
Working With a Paint-First Remodeling Approach
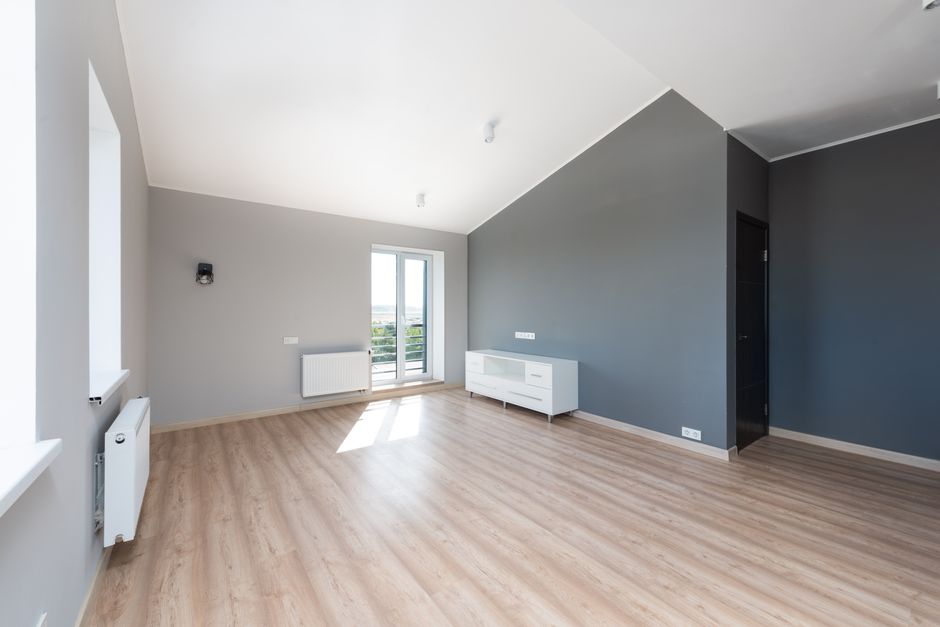
The fix is straightforward: involve your painting team from the beginning of the remodeling project, not the end. Here’s what that looks like in practice:
Your Remodeling Painting Checklist
- ☐ During planning — Select wall and trim colors alongside flooring, cabinets, and fixtures. Get professional color consultation to ensure everything coordinates.
- ☐ During demo — Have painting contractor assess wall conditions. Identify all drywall repair needs before they become surprises.
- ☐ During rough-in — Communicate with all trades about wall penetrations, access points, and areas that will need patching.
- ☐ After drywall — Complete all drywall repair and finishing before primer. Ensure texture matches existing walls.
- ☐ Before cabinets and trim — Apply primer and first wall coat. This provides a backdrop for cabinet and trim installation and means less cutting in later.
- ☐ After cabinets and trim — Caulk all joints between trim and walls. Apply final wall, trim, and door coats.
- ☐ After fixture installation — Touch up any damage from mounting hardware, outlet covers, or fixture installation.
- ☐ Final walkthrough — Inspect all surfaces under proper lighting. Touch up any imperfections before considering the project complete.
When painting is woven into the remodel this way, every phase builds on the previous one. No surprises. No rework. No corners cut because the schedule ran out of time.
Why a Painting Company Should Be Part of Your Remodel Team
Most remodeling companies either have an in-house painter or consider painting a subtrade to bring in at the end. But here’s the thing — a dedicated painting company brings a level of expertise that general contractors and handymen simply can’t match:
- Product knowledge — We know which paints perform best on different substrates, in different rooms, and under different conditions. Not all “paint” is equal.
- Drywall expertise — Proper drywall repair and finishing is the foundation of a great paint job. This is our bread and butter.
- Cabinet finishing — Cabinet painting requires specialized products, techniques, and curing times. It’s not the same as wall painting.
- Color guidance — We’ve seen thousands of color choices in real Springfield homes. We know what works, what ages well, and what creates the feel you’re after.
- Seamless coordination — When the same team handles drywall repair, priming, and final coats, there’s no finger-pointing between trades if something doesn’t look right.
At First Impressions Painting, we work with homeowners and contractors throughout Springfield, Ozark, Nixa, Republic, and Battlefield. Whether you’re doing a single bathroom refresh or a whole-home renovation, we integrate interior painting, drywall repair, and cabinet painting into your project timeline for results where everything comes together.
Make Painting Part of the Plan, Not an Afterthought
The difference between a good remodel and a great one often comes down to the paint. Not because paint is the most expensive part — it’s not. But because painting touches every surface in your home, and when it’s done right, it makes every other investment in the project look better.
If you’re planning a remodeling project in the Springfield area, bring us into the conversation early. We’ll help you plan the color palette, assess wall conditions, coordinate the painting timeline with the rest of the work, and deliver a finished result where everything — floors, cabinets, trim, and walls — works together beautifully.
Visit our projects page to see remodeling and painting work we’ve completed for Springfield homeowners, and reach out through our homepage to start planning your project the right way — with painting as part of the process, not just the punctuation at the end.